Saturday 2 February 2019

Utilising that Stash!

Not that I have a lot in my stash ;) or that maybe you might call me a 'collector' of papers, grin :)  Just don't tell my husband!
I was going through my stash, organising things, as you do ;) and came across some old Basic Grey - they were one of my first loves in scrapbooking.  BUT I discovered while re-organising the stash that those papers I just couldn't bear to use because they were too beautiful, just didn't hold that same degree of love anymore.  Tastes change I guess, and the scrapbooking industry has evolved so much since I first started card making back in 2001!


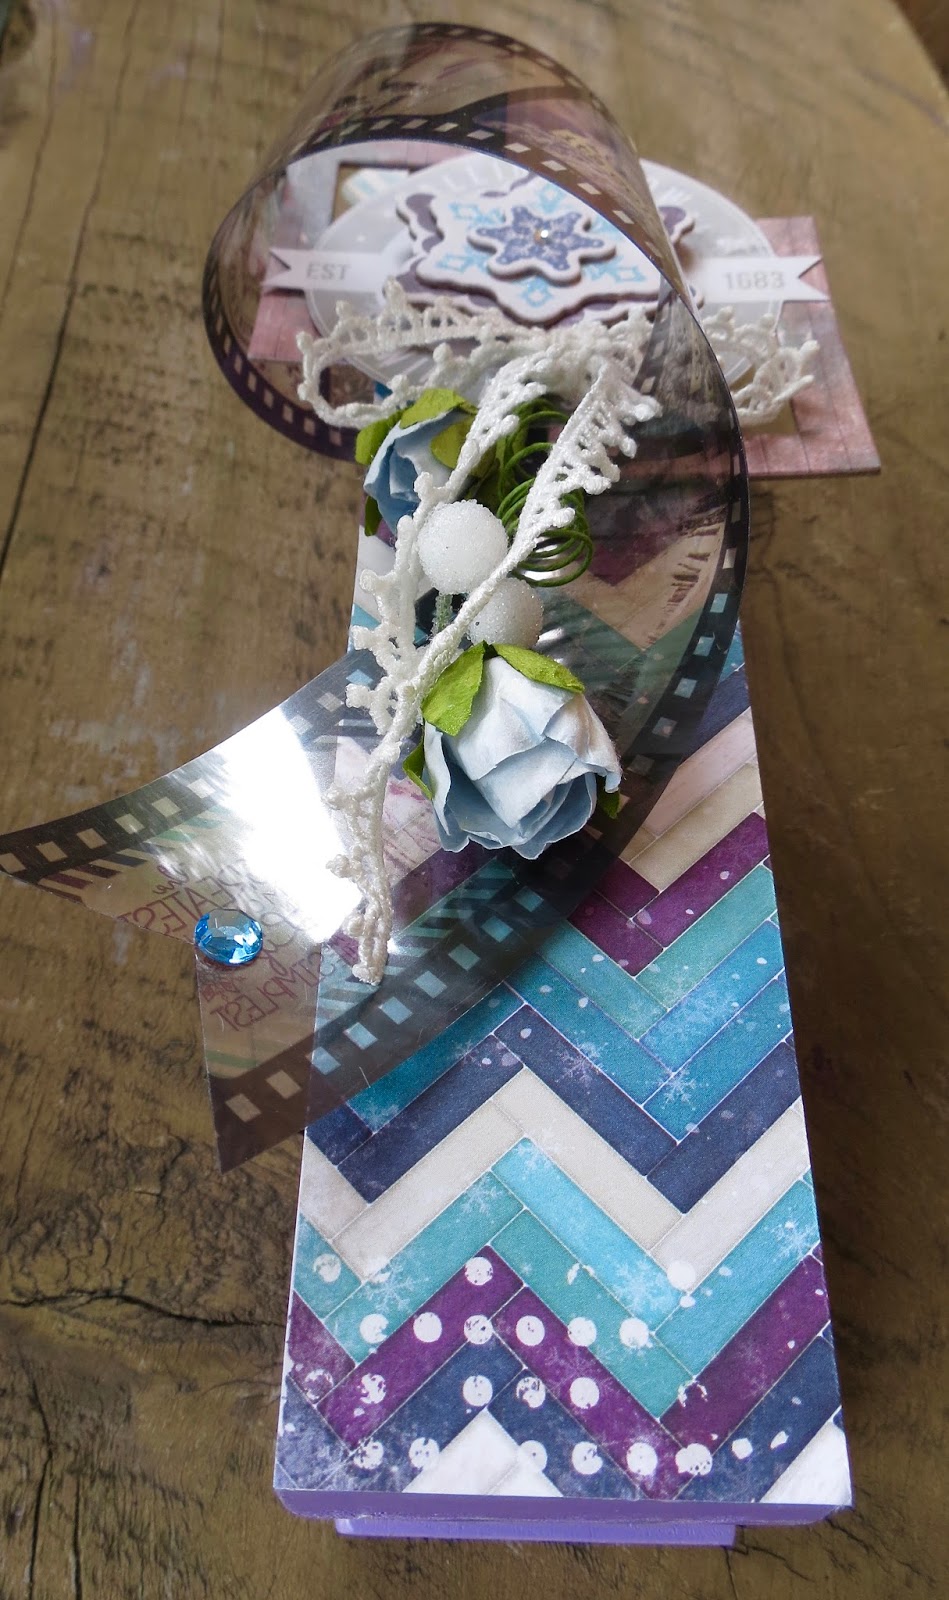
So, this little cutie is my great-nephew, on Christmas Day just chilling while we had a family photo shoot.  The papers are a mixture of Nordic Holiday and Marrakech from Basic Grey.  I mixed it all up with chipboard from Dusty Attic and 2 Crafty, and chipboard stickers from Echo Park.  Distress Oxides created the background with some random stamping.  To get my creativity cranking into gear, I used one of the sketches, and the mood board, from Dusty Attic.


Distress Oxides are my latest go to, I love how easy they blend together!  This card uses Victorian Velvet, Fossilized Amber, and Abandoned Coral.  The background die is from Lawn Fawn and the stamps are from Altenew.


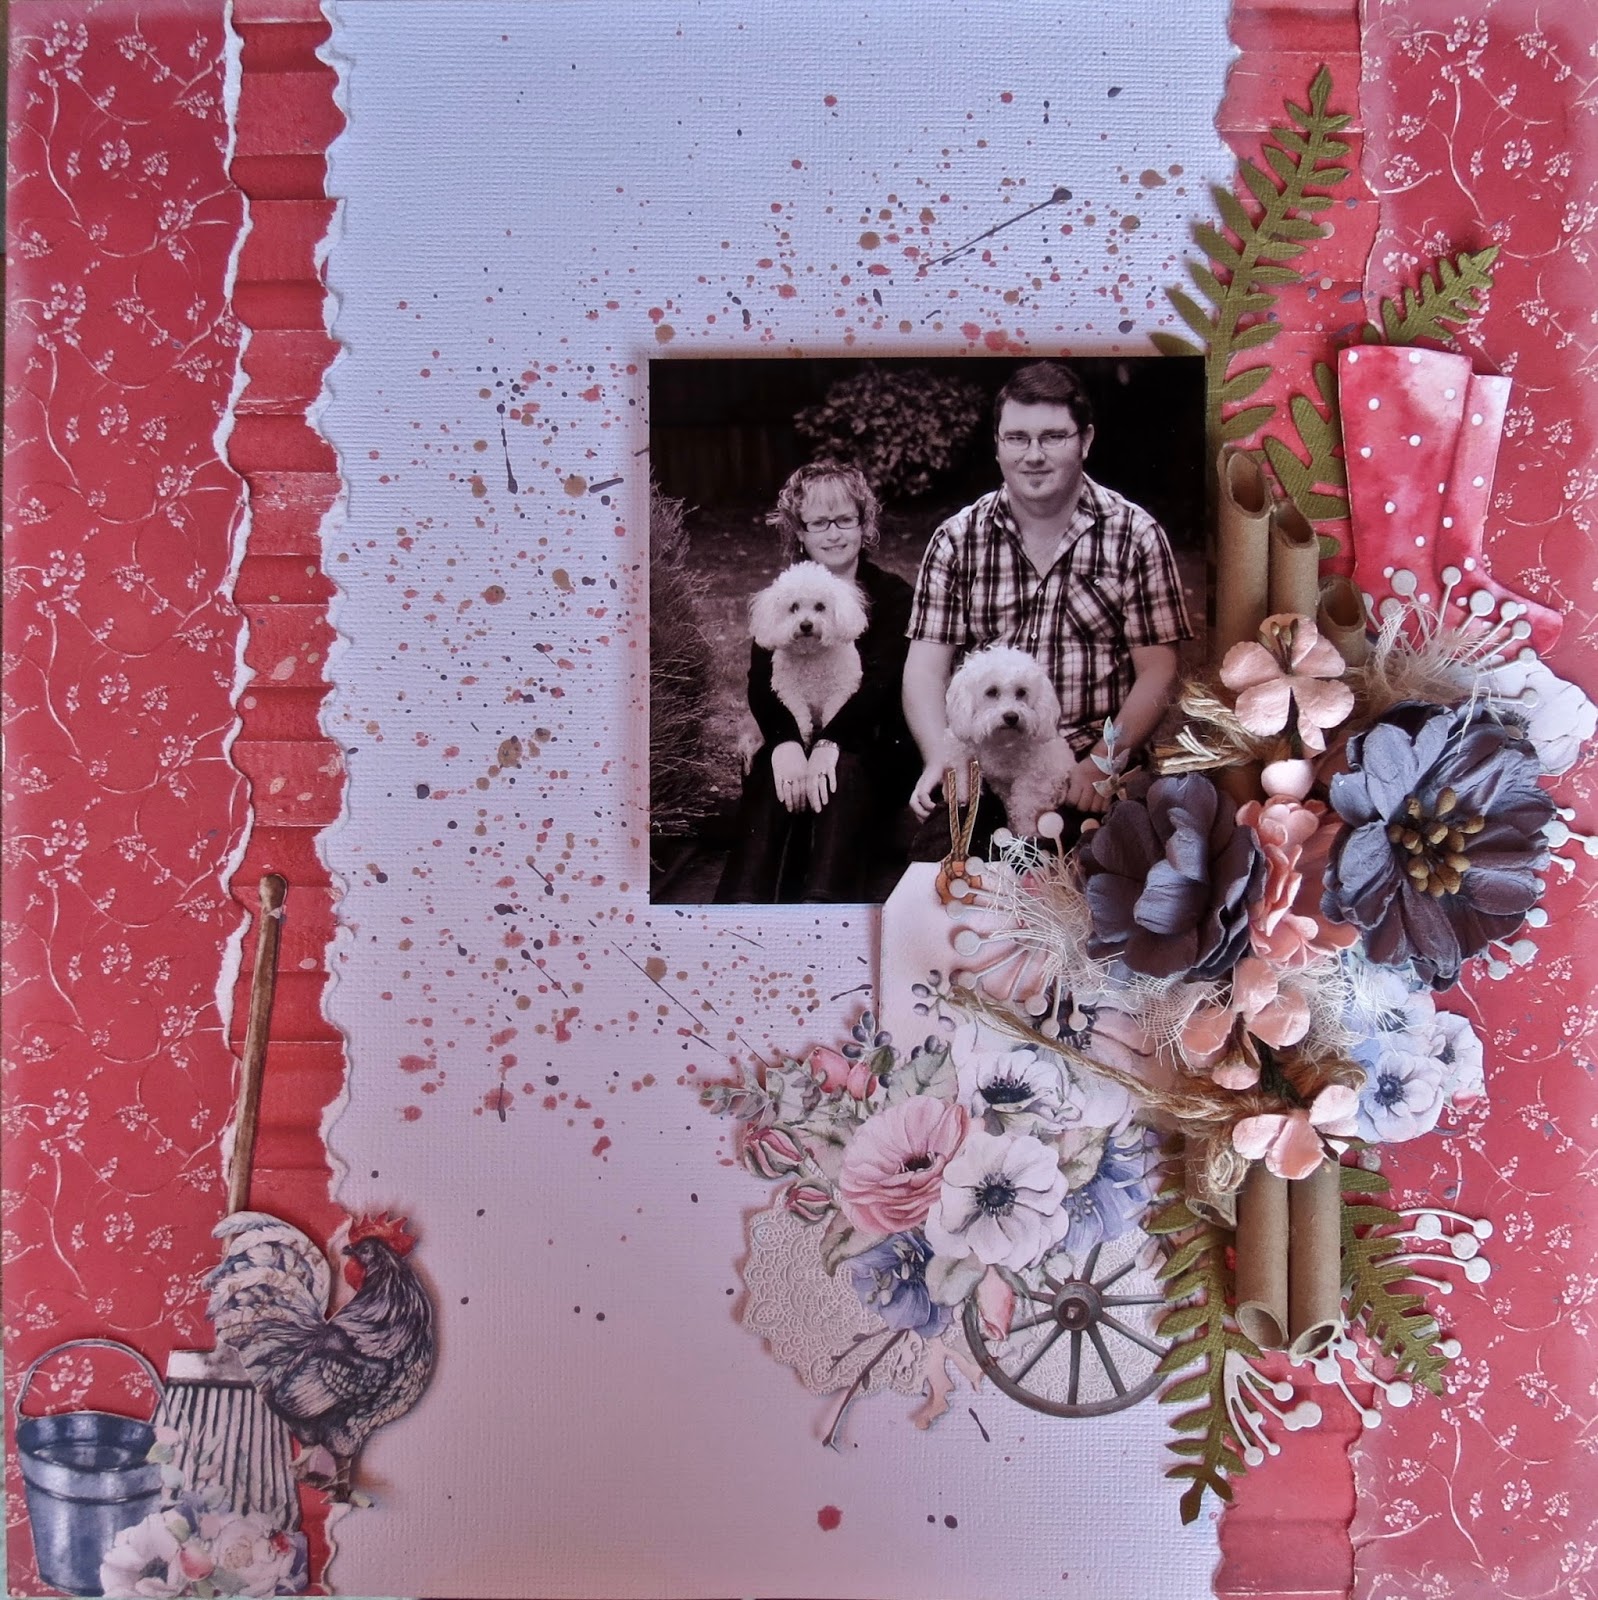
My last card uses scraps of bittersweet from Basic Grey, left over from a mini album I made for my work's Valentines Day Raffle.  This card is just layers, layers layers, its really quite simple.  4 different Memory Box Dies, with some Scrapinec chipboard, paper straws and flowers from Green Tara.

For some reason, despite trying to save these cards multiple times they ended up with the top and bottoms chopped off!  SO ANNOYING!!  however, it did feel great utilising some of those old papers :)

I have to say a big THANK YOU to my wonderful friend Francine, she's given my blog a bit of revamp for me :) What do you think?  I love it! <3

Have a great weekend :)

Tuesday 29 January 2019

Its always nice to be acknowleged :)

At the beginning of last year, I had another one of those dreams come true moments when I applied for Blue Fern Studios design team.  Like most of you I was gutted when they closed, and then absolutely stoked to see the company return! :)
For the last few weeks the new owners have been doing blog posts thanking the individual members of the 2018 design team, before they announce who the new team is.  Heres the link to mine, love that they picked one of my favourite OTP projects to showcase :) :)

In case you're wondering ;) I did not apply this time round.
See you again soon!

Sunday 27 January 2019

This and That.........................................

2019.  how did that sneak up so fast? and its already nearly the end of January!  I remember as a child hearing that time goes fast the older you get, and obviously my young self would have thought that was weird.  Little did I know how accurate it was!


You may be wondering where Ive been since my last post.  Its been a while.  Or you may not ;)  the end of 2018 absolutely sucked for us, it was a tough time but Im happy to say the light has well and truly shown at the end of the tunnel!  :)  So, what happened?  In August our beloved exotic mongrel ;) <3 Dougal got diagnosed with a tumour on his liver.  By the time they found it, and he started having symptoms, it was 6cm and we were told we had 3-6 more months with him.  The following month my mother-inlaw developed Atrial Fibrillation, and in the following 6 weeks had four admissions to hospital before it was under control.  In the same month our beautiful McKenzie - the 2nd of our exotic mongrels ;) - was diagnosed with a brain tumour and we lost her two weeks later.  Eight weeks later we lost Dougal.  To say we were heart broken seems not enough.  Its bad enough losing one of our dogs, let alone two, and so quickly.  There was no scrapping.  I just didn't feel like it.  Too much stress in too short a time definitely takes a toll!


Around Christmas I finally felt like creating again, and made some layouts as gifts, and Christmas stockings for name places at Christmas dinner.


One of favourite companies, 49 and Market <3 I love the fussy cut-ability of their papers!  This one uses their dimensional stickers with Cottage Life collection, still one of my favourite paper collections, and the large chipboard piece is from Dusty Attic.


This piece was a little different for me, its uses 7 Dots paper and pieces from the cut outs.  Chipboard this time is from Blue Fern Studios.  That big word is from Robbie Bell - I purchased this at SENZ a few years ago, its wood and embossed beautifully!


The last layout is again 49 and Market, this time the chipboard is 2 Crafty.  The paper is again Cottage Life and Ive also used the dimensional stickers again too.


So Christmas place names.  These were actually supposed to be banners.  They're from Kaisercraft, and I thought they would make awesome place tags.  The bamboo names at the top of each stocking came from Love From Seventeen - they come plain and Ive embossed them gold, they're actually supposed to be used as name tags for presents but I changed it up a bit ;)  The paper this time is a really old BoBunny collection, Noel - one of my favourite Christmas collections, love the colours!


This is mine.  The Burgundy paper was actually plain so to shoosh it up a bit I used a BoBunny stickable stencil and their gold glitter paste.  The cluster at the top  was created out of fussy cutting some of the holly and punching out some leaves with a new Holly punch I had from Stampin Up.


Lastly, did you know I have a facebook page where I pop all my projects, with details on how I created them?  You can find it here.
Everything also is added to my Pinterest page, and you can find that here.

Happy New Year Everyone!, see you soon :)

Monday 16 April 2018

The Paper Teapot Autumn Retreat

Hello Again :)

Its hard to believe that this time last week I was preparing for retreat, and the weather was absolutely abysmal!, and now look at it, simply stunning.  Probably the best time to scrap though, right? when the weather is horrid?
I was terribly unprepared this time round.  My class stuff was organised but not my personal scrappy stuff.  For the first time ever I think, I was up to date with everything, and because of that I couldn't think of what to do.  Not that there weren't a hundred and one other things I could do, I just couldn't think of what!  So I delayed.  Never a good thing!  Eventually I grabbed a few kits that I had for a while waiting to be done, and an OTP idea I had buzzing round my head, and then a thousand other things that I might need and better take otherwise I'd probably want them and not have them!  You know how it goes ;) and I was on the road to Glentui.

The class I taught used 49 & Market papers and flowers, and created two layouts.  We used the B side of the papers because that red was just gorgeous!


 The second layout used the scraps from the first to create the base page.  There was also a lot of fussy cutting, but those graphics are just devine!, how could you not?!


I also took along three kits and got two of them done.  Its a rather good feeling to tick something off the 'to do' list!
The first kit was a Di Garling kit I had had for quite sometime.  I fluffed round with it for quite awhile  before I decided to change the orientation of the page, and change the photo, before I was finally happy.  Loved that background technique though :)


This kit had another layout in you could do as well but I wasn't sold on it, so used the remaining papers to do something else instead, and this was what I came up with.  I think Im happy with it, just not sure about that top right corner.  Might mull on that for awhile!


Bit of a story behind this photo.  27 years ago the three of us were about to graduate from nursing school and we posed for a photo.  We looked very cool in our denim shirts, jeans and perms ;)  Fast forward 25 years and we did it all again, the same pose, minus the denim ;)

The second kit I played around with was by Gerry Van Gent.  I love this womans style!  And I didn't change this particular kit.  49 & Market.  Whats not to love?!!


So that was about the total of my creativity this time round.  Not much really, although there is an OTP project, but you will have to wait til next month to see that ;)
In the meantime heres a sneaky peak of a layout kit I designed coming soon from the Paper Teapot :)


see you again soon :)

Sunday 25 March 2018

Amber & Apricot - BFS

Hello again :)

I know, I was supposed to show you what else I had been creating at Christmas but I thought I'd show you a couple of layouts I have posted recently on Blue Fern Studios, first.


This was not a collection I was drawn to initially.  Im not sure why, the colours were right up my alley.  The turning point was finding the right photo, and this loved up pair were the perfect accompaniment ;). The base page is actually two pieces of patterned paper - I fussy cut along the edge of the white piece, backed this onto chipboard and then popped it onto my background piece of paper.  The honeycomb chipboard I left as it was, it colour coordinated perfectly left bare, and this was tucked in along the edges.


I thinned down my Prima Rust Pastes with a little water and used them to splatter all over my layout. the seedlings were the perfect addition, giving a little more depth and interest.


I used three pieces of chipboard for my cluster.  The circle flourish, and a couple of mini flourishes - both of these were embossed with Mushroom embossing powder.


A little fussy cutting and the addition of some BF flowers gave me a great cluster, that gives it an appearance of a lot of depth when actually its just two layers.


This layout again used the Amber & Apricot Collection, and sort of used the same design, drawing the eye across the page.  The chipboard frame was again covered with Mushroom embossing powder and did the perfect job of framing my photo. The clusters arranged down each side were fussy cut from another piece of patterned paper and the scraps were used to create my banners.


The heart was in two layers; the top layer was left painted red, and the bottom was painted red also but while still wet it was covered in glitter and then inked in black archival ink, and then layered on top of each other with a piece from the coordination printed chipboard.  The chipboard title Happy Memories was painted half red and half black - the black being archival ink, giving a two toned effect.


A few splatters with the same red paint and some watered down white gesso, random stamping with Tattered Newsprint stamp and Leaf Seedlings and it was finished.

Sometimes its just a matter of finding the right photo, and sometimes its rewarding stepping out of that comfort zone!

I'll see you again soon ;)

Monday 5 March 2018

Those Christmas gifts ............................

Remember Christmas last year??  LOL yes I know it was a while ago, but I realised I forgot to share some of the creativity I made as gifts for some lovely people.

First up is a giant clothes peg.  I can see you all now wondering how on earth I came up with this idea for an OTP ;)   To be honest I have no idea, but it was dirt cheap at $5 in the sales bin at TYPO so why not?


I wanted something dimensional and I certainly got that ;)   Ive used paper, noteworthy, and chipboard from BoBunny the Altitude collection.


A mixture of Manor House vines - yes Ive hoarded those awhile! - and 49 & Market flowers, and some lace from my stash completed the whole thing.  And seeing as the recipient loves all things purple it went down a treat! :)


The other gift I made was for a friend of ours who is an airline pilot.  She never puts a tree up because she feels its a waste of time, since she's hardly there to put it up and enjoy it.  Well, that was a challenge for me! and Kaisercraft had this awesome tree to decorate last year, and here it is..


The papers are BoBunny Tis the Season.  The wooden flourish and star are both Kaisercraft.


The flourish is just painted with some Prima paint, and BB pearls with some flowers finished the cluster.  The round bauble is part of the tree, I just fussy cut the babble out from the patterned paper.


Isn't that little airplane cute?!  I cannot remember where I found it now, but it was just bare wood, so that was painted the same as the flourish.  The presents were fussy cut from patterned paper and the cluster believe it not was part of a napkin ring I had found in a dollar store.


Both were fun, quick little things to make, probably why I love OTP,  they don't take long :)
See you next time with a couple more ideas for Christmas gifts.

Friday 23 February 2018

Are you In the Mood??

Hi Everyone :)

This month there is a new release from Blue Fern Studios called In the Mood, full of delightful shades of charcoal, grey, creams and pinks.  With the paper collection comes some stunning embossing powder colours.  One of them has become an instant favourite - Black Gold!  Ive used this in the layout below, but really the photos don't do it justice, its just stunning.


This layout is a tutorial and you find all the details here:

I created two projects this month, the other was my contribution to our ward's Valentines Day Raffle, trying to raise some funds to help with textbooks etc.


I had the box in my stash for a long time, it was from Heidi Swapp but goes to show don't throw anything out it will always come in handy!  ;)  I attached a piece of chipboard to the inside of the lid and just coloured it with archival ink.


On the lid I created a cluster of BFS flowers and die cut doilies, and a piece of the printed In the Mood chipboard.  Along the sides of the lid I used a border punch with some lace over the top.


Cutting the paper to fit inside of the box was a bit fiddly and I had some gaps, but BFS to the rescue with some of their lovely lace and that fixed that!


So the card was next and I used the scraps from the box to complete the card, making it all match :) I also wanted to mimic the cluster on the box, on the card.  So I used the same doily die and flowers.


Another piece from the printed chipboard set, a bit of ribbon and an arrow from my stash and its finished!

 
Gotta love those little heart pins ;)

It does beg the question though.......................................... did it get you in the mood to scrap?! ;)
Thanks for popping by, see you soon :)